
How to install a WordPress plugin – step-by-step guide with pictures
We often get asked how to install a WordPress plugin – here’s a 3 step guide that gets straight to the point. This will apply to most plugins – although if you’re installing a plugin that needs additional settings or configuration you’re best best is to follow the installation instructions from the plugin developer.
Anyway, lets get to the guide…
Step 1
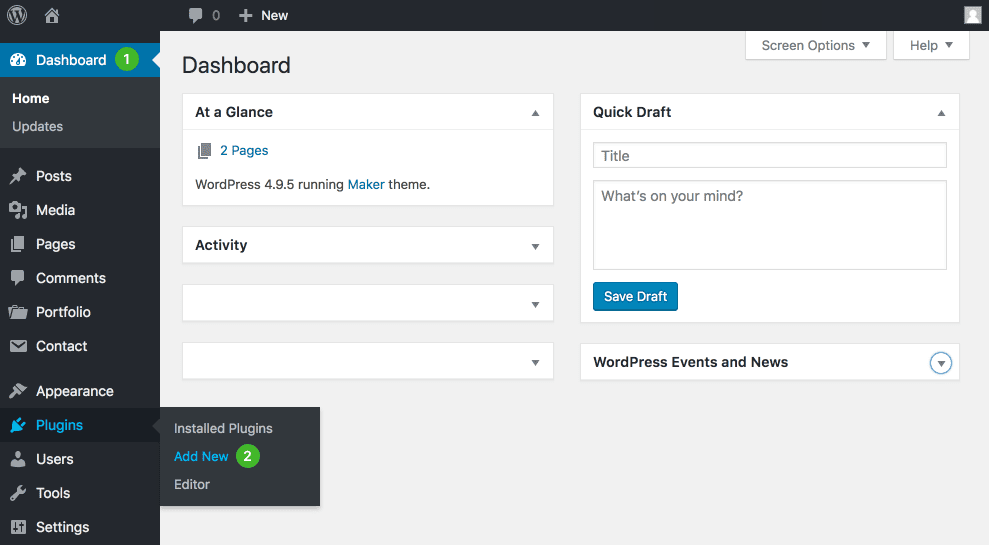
- Log in to your WordPress account and go to your Dashboard.
- Click Plugins and select Add new.
Step 2
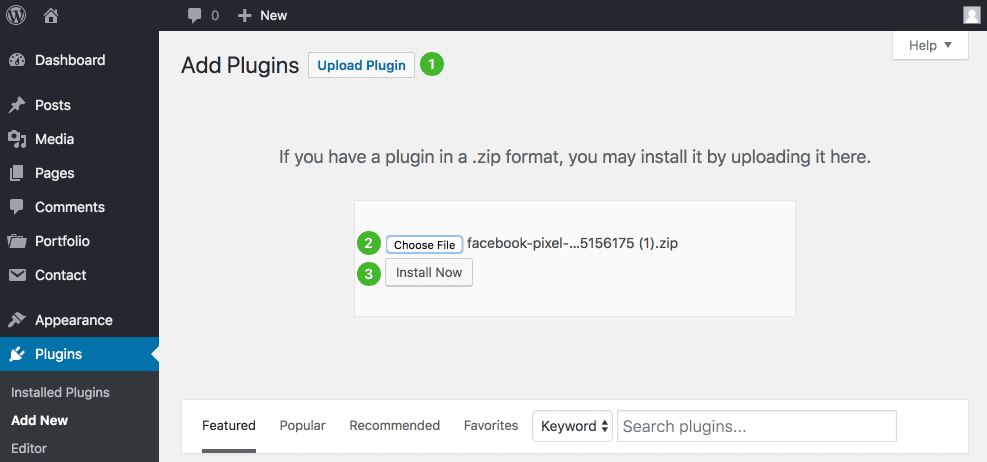
- Click Upload plugin.
- Click Choose file and select your-plugin-file.zip.
- Click Install Now.
Step 3
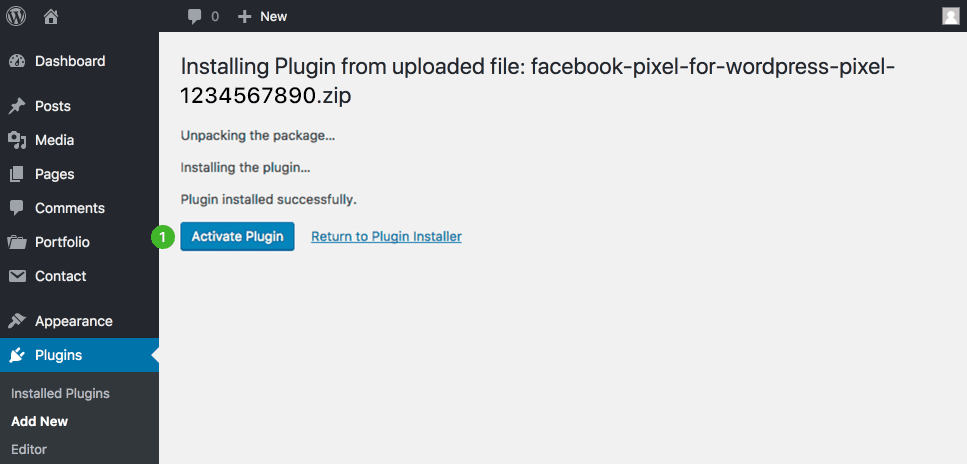
- Click Activate plugin.
You’re done!
Your plugin has now been installed, and activated. If the plugin requires additional configuration you may see an additional screen with instructions – otherwise, enjoy your new WordPress features!