Adding a Mail account in Apple Mail (Mac)

1. Open Mail

2. Click Mail in the top menu bar and select “Add Account”

add mail account option

3. Select “Other Mail Account”

choose mail account provider options

4. Type in your name, full email address and password and click “Sign In”

add a mail account settings

5. This will then bring up an additional menu (don’t worry that it says “Unable to verify”):

  • Leave username as “Automatic”
  • Select IMAP
  • Outgoing mail server (SMTP): E.g. serverXX.obrienmediabusiness.co.uk (where “serverXX.obrienmediabusiness.co.uk” is replaced with the server hosting your email).
  • Incoming mail server: E.g. serverXX.obrienmediabusiness.co.uk (where “serverXX.obrienmediabusiness.co.uk” is replaced with the server hosting your email).
Click “Sign In
options for a server

7. Make sure “Mail” is ticked and uncheck “Notes” and “Done”

Attachment options for email app

8. The account should now be added!

A note on O’Brien Media server settings

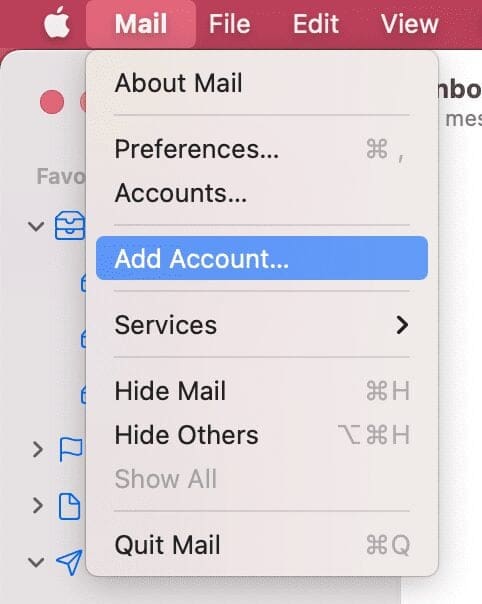
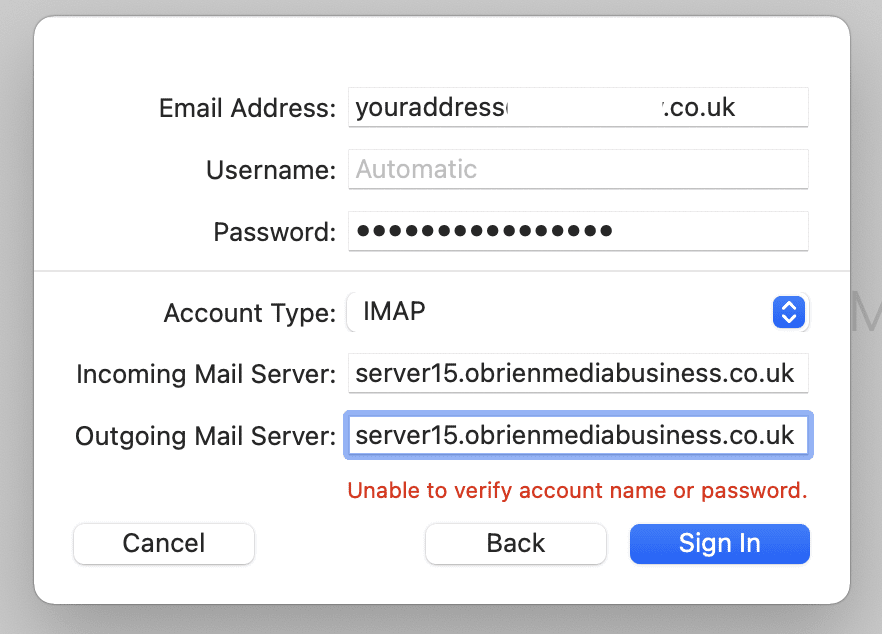
Your email server (incoming and outgoing) will be in the form “serverX.obrienmediabusiness.co.uk” where the X is the server number your website or email service is hosted on.

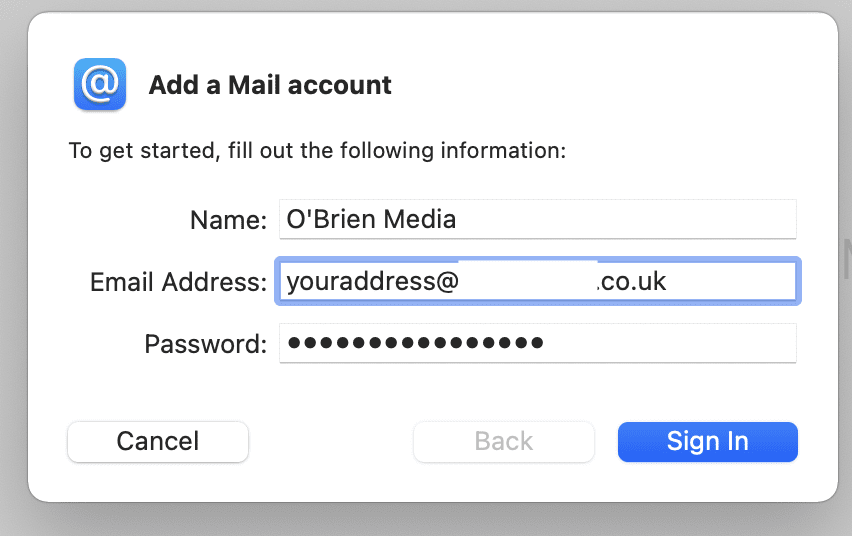
Your username will be your email address, in full, and your password will be provided when your email account was created. Once saved, we cannot view passwords, we can however reset them and provide you with a new password.

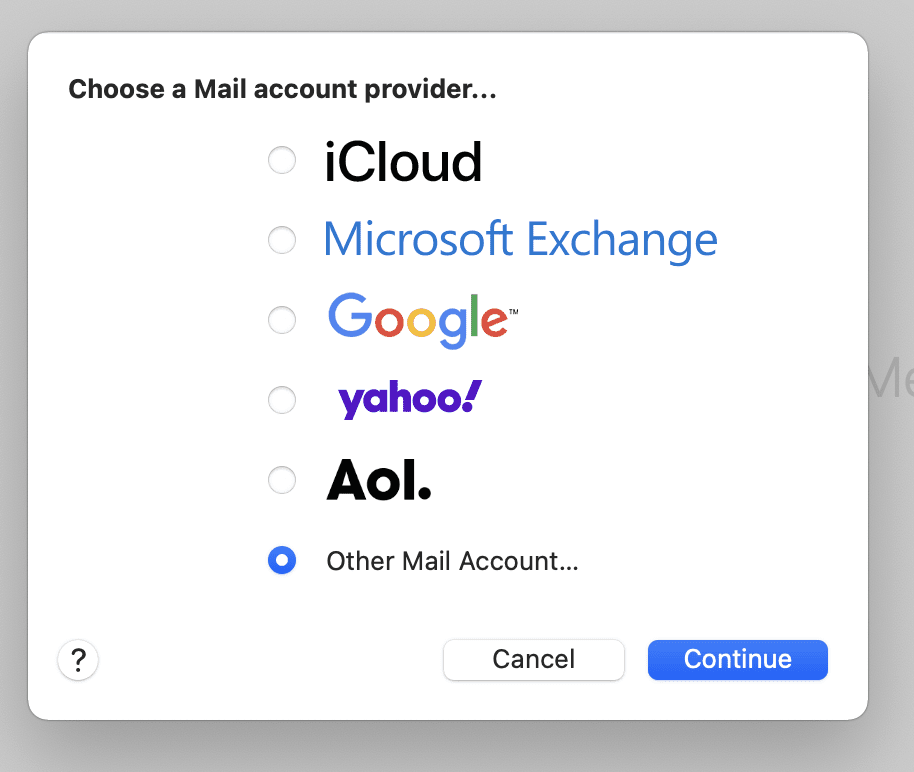
If you want to collect your email on more than one device, or you want to access your email via Webmail and using your phone or laptop, choose IMAP at the type for your new account when setting up your device.

Last updated byIvan MolinaIvan Molina on 13th July 2022